
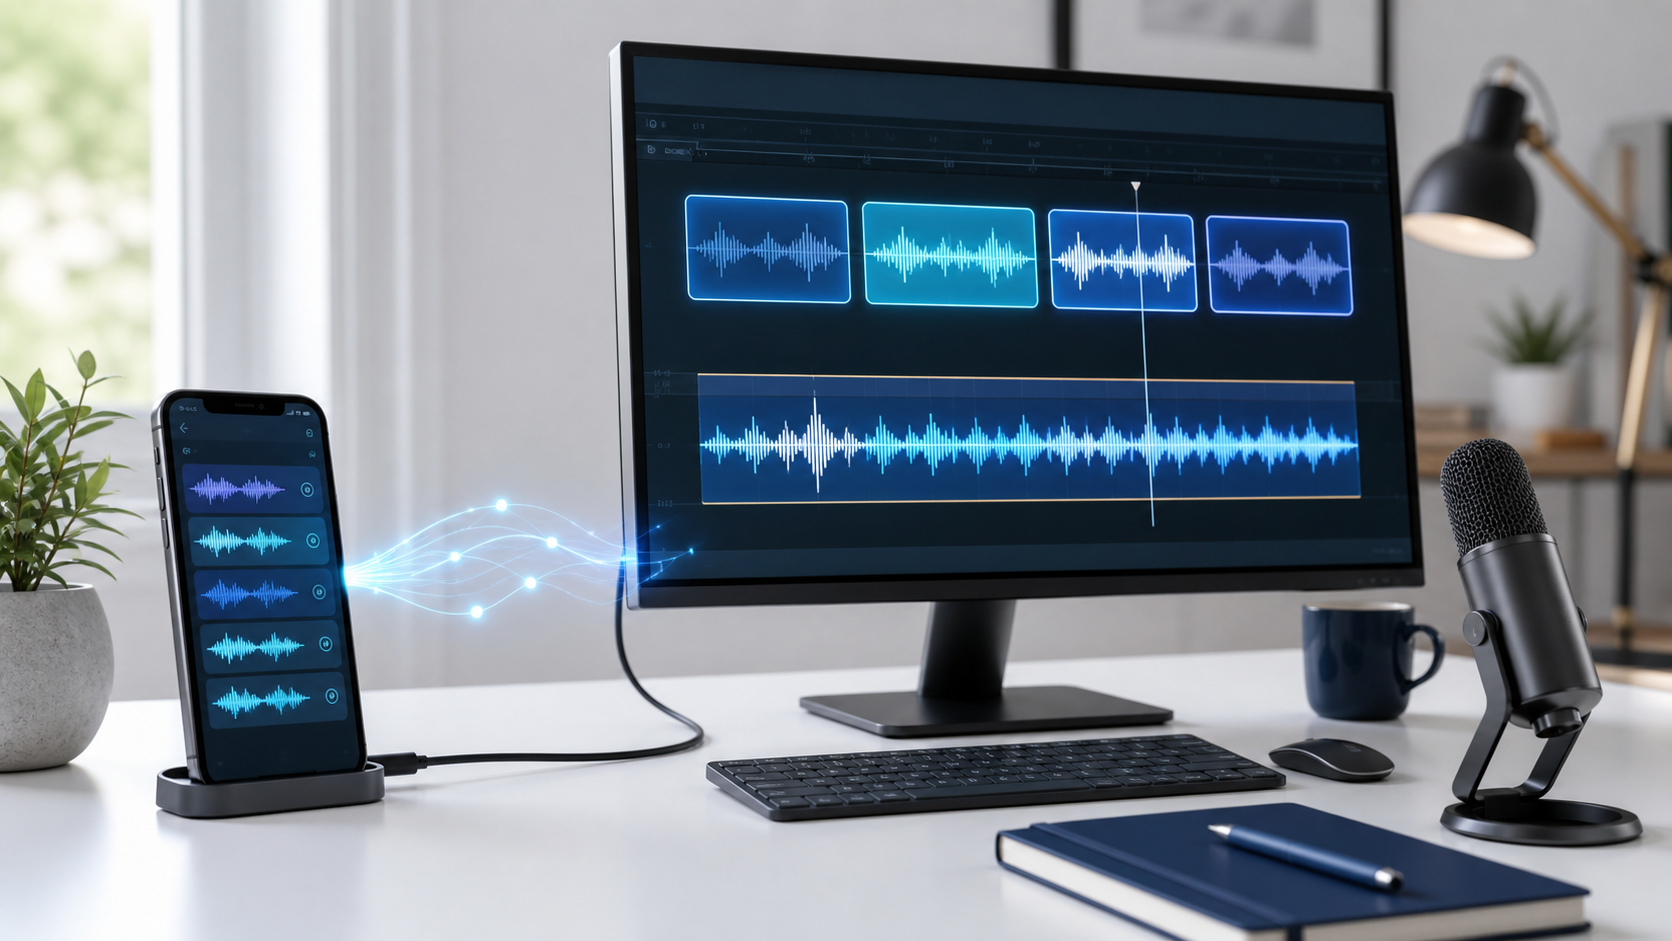
Phone voice memos are convenient for interviews, classes, field notes, rehearsals, and family recordings. They are less convenient when one session becomes twelve files with inconsistent names, pauses, and formats. A reliable workflow is to copy the recordings to a Windows PC, keep the originals in a backup folder, then assemble working copies into one ordered MP3.
This guide uses Free Merge MP3 for local processing. Your audio does not need to be uploaded to a browser tool. That matters when recordings contain private interviews, unpublished ideas, student material, or personal information.
Step 1: transfer voice memos without losing the originals
Use your phone’s normal export, USB transfer, or trusted local sync method. Copy—do not move—the files into a dedicated folder on the PC. Keep an untouched backup until the final result has been reviewed.
Phones may export M4A, AAC, WAV, MP3, or another container. Free Merge MP3 supports these common formats through FFmpeg, so you usually do not need to convert each memo separately before assembly. If a memo is encrypted, protected, incomplete, or malformed, resolve that issue in the original app first.
Step 2: rename and sort the recordings
Create a simple naming convention: date, session, speaker, and sequence. For example:
2026-08-14-interview-01-intro.m4a2026-08-14-interview-02-main.m4a2026-08-14-interview-03-follow-up.m4a
Then add the files or the entire folder to Free Merge MP3. Check the timeline visually and drag any misplaced memo into the correct position. The original files are only referenced; timeline order does not rename or rewrite them.
Step 3: remove unusable starts, stops, and long pauses
Select a memo and click Trim clip. The trim window stores a start and end time rather than cutting the source. Zoom into the waveform up to 32×, use the horizontal scroll bar to inspect a small area, and enter exact times when you know the boundary. Keyboard controls can nudge a selected edge by 0.01, 0.1, or 1 second.
Use Trim silence cautiously. A classroom or outdoor recording may have quiet speech that resembles silence. Preview both edges after automatic detection. If a recording contains a mistake in the middle, create two references to the same file by duplicating the clip, then give each copy a different trim range.
Step 4: decide whether to preserve or standardize the audio
Choose Smart (recommended). When the voice memos already have matching technical properties, the requested output is compatible, and no effect or trim requires decoding, Smart mode can perform a lossless stream copy. If any condition differs, it automatically uses Studio processing.
Mixed phone recordings often vary by codec, sample rate, channel layout, or bitrate. In that case a single standardized output is more useful than forcing an unsafe copy. Choose MP3 for broad compatibility, then set a practical speech bitrate. High bitrates increase size but cannot recreate detail missing from a compressed phone recording.
Step 5: make transitions sound intentional
A direct join works when one memo continues immediately into the next. A short silent gap makes a new question or topic clearer. Avoid crossfading unrelated speech: overlapping voices reduce intelligibility. Crossfade is more useful for music, ambience, or a designed transition.
If one memo is much louder than another, use accurate loudness normalization in the Advanced settings. The feature analyzes the assembled audio and requires Studio processing. It cannot fix clipping or severe background noise, but it can make otherwise clean segments more consistent.
Step 6: label the final recording
Add a descriptive title, speaker or artist, project or album name, year, genre, and a brief comment. Avoid putting confidential information in tags if the file will be shared. You can also attach cover art to MP3, M4A, or FLAC output and create a CUE sheet with one marker per input memo.
A CUE sheet is especially useful for long interviews: it records where each source segment begins after trims and transitions. Keep it beside the merged audio as a production index, even if the recipient’s player does not display CUE chapters.
Step 7: verify privacy and output quality
- Listen to the entire file or, at minimum, every transition and every high-value answer.
- Confirm no unintended memo was included.
- Check the first and last seconds for accidental cuts.
- Review tags before sharing outside your organization or family.
- Confirm the source folder still contains all original files with unchanged dates and sizes.
- Back up the merged result and the project file separately.
Common problems
The files appear in the wrong order
Drag the rows in the timeline or use the move controls. For future sessions, rename files with padded sequence numbers.
One memo will not open
Play it in the phone app and export it again. A partially synchronized or protected file may not contain a complete local audio stream.
The output is larger than expected
Check the output format, bitrate, sample rate, and channel setting. Stereo and high bitrates increase size. Do not choose a setting far above the source merely because it sounds “higher quality.”
Will the app overwrite my recordings?
No. It rejects an output path that conflicts with an input and commits the final output separately. Trims remain project settings until you merge.
For the general workflow, see How to Merge MP3 Files on Windows 11. When you are ready, download Free Merge MP3 and start with copies of two short memos.